Quick Fixes for Persistent Windows 11 Error Messages
Seeing a cryptic popup during your morning coffee can throw your whole workday off balance. While these technical glitches feel like a roadblock, many Windows 11 error messages are actually the system's way of telling you that a small background setting needs a quick adjustment. Most of these issues can be resolved in a few minutes without needing to call in the heavy hitters from your IT department, allowing you to get back to your tasks sooner.
Running the Windows Update Troubleshooter
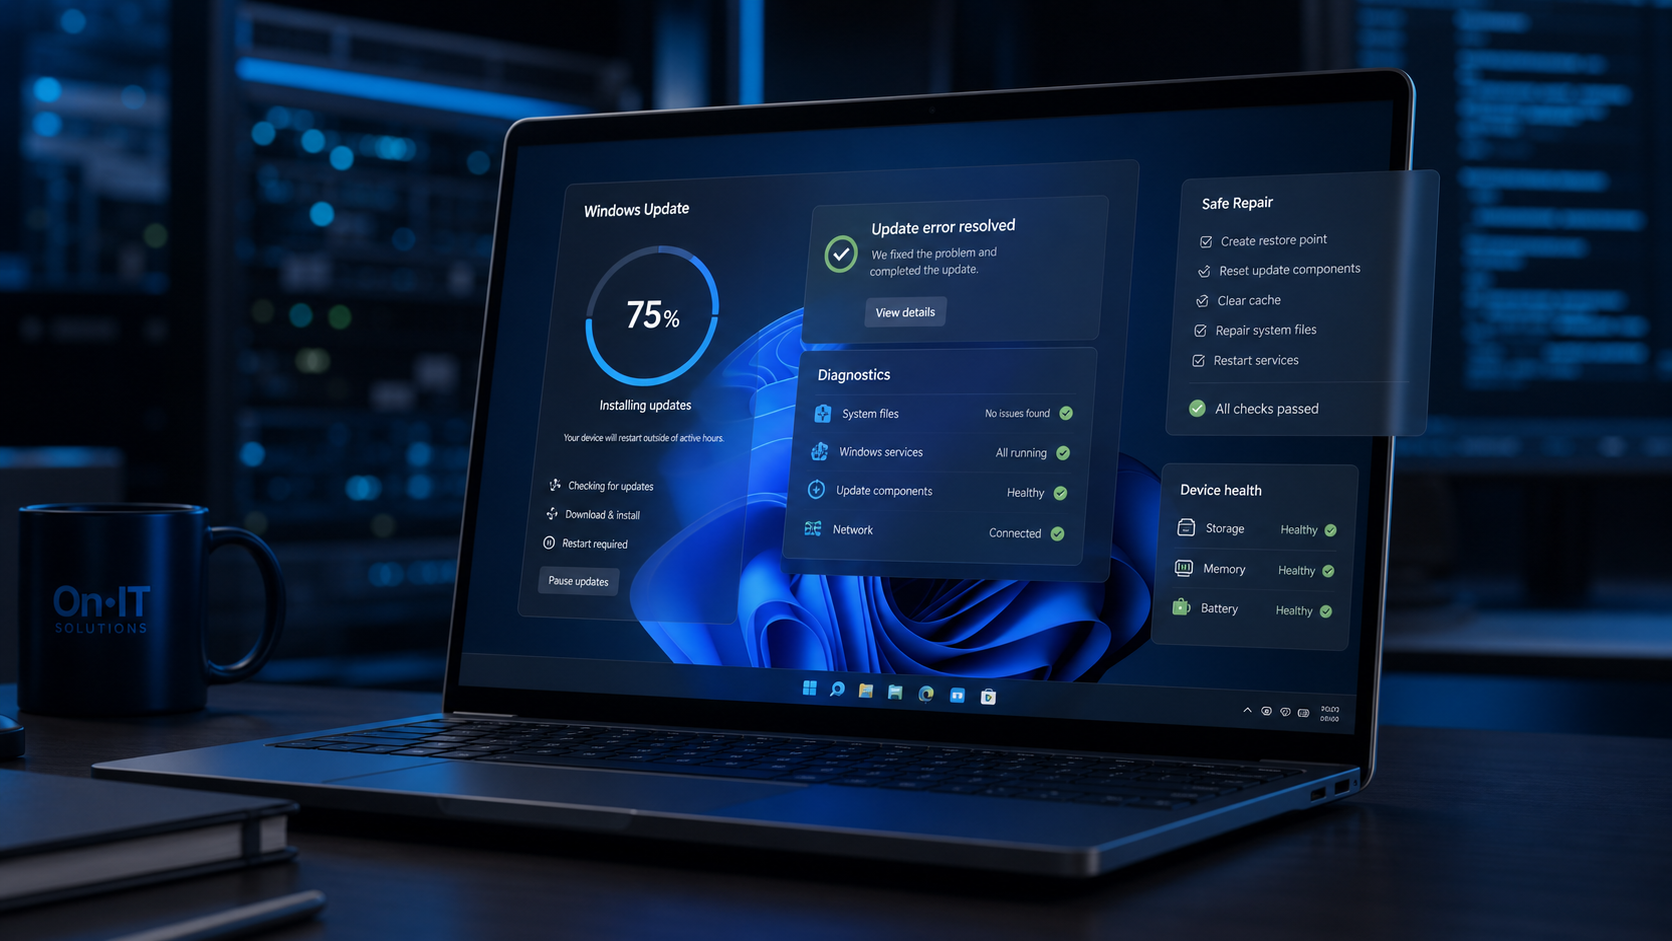
If you encounter a specific error code while trying to install a new patch, your first line of defence should be the built-in diagnostic tools. The Windows Update troubleshooter is designed to automatically detect and repair common corruption issues that prevent your OS from staying current. It checks for missing registration files and resets background services that often lead to a slow Windows 11 after update experience if left unresolved.
- Select Start and then click the Settings (gear icon).
- Navigate to System in the left sidebar and then click Troubleshoot.
- Choose Other troubleshooters from the list of options.
- Find Windows Update and click the Run button.
- Follow the prompts and apply any recommended fixes the tool suggests.
Check Your Storage and Connectivity
Insufficient storage is a leading cause of installation failures and persistent "Update Failed" notifications. For a smooth experience, you should ensure your system drive has at least 20GB of free disk space. This buffer allows Windows to download, unpack, and verify installation files before the final setup. If you are running low on space, consider moving large project folders or archived media to your company's cloud solutions platform.
Furthermore, many modern Windows errors occur because the system cannot verify a license or download a component from Microsoft’s servers. A flaky Wi-Fi connection can trigger "0x" error codes that seem complex but are simply caused by data packet loss. If you are working from home or in a busy office, try switching to a wired Ethernet connection before you attempt to reset Windows Update components or re-run a large system patch.
Remove Conflicting Hardware
Sometimes the error isn't inside your software, but plugged into your USB port. Newly connected hardware—like a new printer, docking station, or high-end webcam—can cause driver conflicts that trigger Windows 11 error messages. If an error persists, try unplugging all non-essential peripherals and restarting your machine. If the error disappears, you might need to check if the device requires compatibility mode Windows 11 settings or a specific driver update from the manufacturer’s website.
If these surface-level fixes don't clear the error, you may need to dig a little deeper into the system services that power your updates and configuration.
How to Reset Windows Update Components Using Command Prompt
When a software patch gets stuck in a loop or fails to install repeatedly, the system's internal filing cabinet for updates has likely become cluttered or corrupted. Sometimes the standard automated tools aren't enough to clear stubborn Windows 11 error messages that prevent your computer from staying secure and up to date. In these instances, a manual refresh of the update architecture is the most reliable way to wipe the slate clean and force the operating system to re-download fresh, uncorrupted files.
Stopping Services to Reset Windows Update Components
Before you can modify the system folders where updates are stored, you must temporarily pause the background services that are currently using them. These services act as the "engine" for your updates, and trying to change files while they are running is like trying to change a tyre while the car is moving. By stopping these, you ensure that no processes interfere with the cleanup of your Windows 11 error messages.
- Click the Start menu, type
cmd, and select Run as administrator from the options on the right. - In the black window that appears, type
net stop wuauservand press Enter. - Next, type
net stop cryptSvcand press Enter. - Type
net stop bitsand press Enter. - Finally, type
net stop msiserverand press Enter.
Wait for each command to confirm that the service has been stopped successfully before moving to the next line. If a service is already stopped, you can simply proceed to the next step without concern.
Clearing the Software Distribution Folder and Renaming the Cache
The SoftwareDistribution folder is the primary storage location for temporary update files. Over time, incomplete downloads or interrupted installations can leave "junk" behind that confuses the system and triggers compatibility mode Windows 11 warnings or installation failures. Renaming this folder effectively "hides" it from Windows, forcing the operating system to create a brand-new, error-free version the next time it checks for updates.
- Navigate to the
C:\Windows\directory using your File Explorer. - Locate the folder named
SoftwareDistribution. - Right-click the folder and rename it to
SoftwareDistribution.old. - Repeat this process for the
Catroot2folder located inC:\Windows\System32\, renaming it toCatroot2.old.
Finalising the Reset to Fix Slow Windows 11 After Update
After renaming the cache folders, you must restart the services you paused earlier to put the system back into its normal operational state. This final step is crucial because it triggers the "Update Failed" notifications to clear as the system realises it has a fresh environment to work with. If you have been struggling with a slow Windows 11 after update experience, this reset often resolves the background resource drain caused by a service repeatedly trying to process a corrupted file.
- Back in the Command Prompt window, type
net start wuauservand press Enter. - Type
net start cryptSvcand press Enter. - Type
net start bitsand press Enter. - Type
net start msiserverand press Enter. - Restart your computer to ensure all changes are fully integrated into the system registry.
Once your PC has rebooted, head back to your Update settings and click "Check for updates" to begin a clean download process. Many businesses find that managing these technical hurdles is easier with professional assistance through managed IT services, which can automate these repairs across an entire fleet of devices.
While clearing the update cache fixes most system-level errors, some software glitches require a different approach involving the way individual applications interact with the new OS.
Resolving Software Glitches with Compatibility Mode Windows 11
Trying to launch a legacy accounting tool or a niche industry application only to have it crash instantly is a frustrating way to begin your workday. While Windows 11 is a robust operating system, some older software programs struggle to communicate with its modern architecture, often resulting in vague Windows 11 error messages. These glitches don't necessarily mean the software is broken; rather, it simply needs to be run in an environment it recognises.
Using the Program Compatibility Troubleshooter
Microsoft includes a built-in diagnostic tool designed to bridge the gap between old software and the new OS. This is your first line of attack if an app refuses to open or behaves erratically. The troubleshooter automatically tests different settings and identifies the specific "version" of Windows the app expects to see.
- Click the Search icon on your taskbar and type
Troubleshoot settings. - Select Other troubleshooters from the menu.
- Find Program Compatibility Troubleshooter and click the Run button.
- Choose the problematic application from the list provided or select "Not Listed" to find the file manually.
- Follow the prompts to "Try recommended settings" and test the program to see if the errors have cleared.
Manually Setting Compatibility Mode Windows 11
For specialized Australian business tools that haven't been updated in several years, you may need to take manual control of the settings. Manually enabling compatibility mode Windows 11 allows you to emulate Windows 10, 8, or even 7 for a specific file without affecting the rest of your system's performance.
- Locate the application's shortcut on your desktop or navigate to the
.exefile in your File Explorer. - Right-click the icon and select Properties.
- Click on the Compatibility tab at the top of the dialogue box.
- Check the box that says Run this program in compatibility mode for:.
- Select the version of Windows the software was originally designed for from the dropdown menu.
- Click Apply and then OK.
Sourcing Updates and Performing Clean Reinstalls
If you find your system feels like a slow Windows 11 after update, the culprit might be an outdated background driver for your software rather than the OS itself. Residual files from a previous installation can often conflict with new system patches, leading to persistent crashes. In these cases, a "quick fix" isn't enough; you need a fresh start.
- Visit the Official Source: Always go directly to the developer's website to look for a Windows 11-specific patch or a newer version of the installer.
- Complete Uninstallation: Use the "Installed Apps" menu to remove the software entirely before attempting to reinstall it.
- Clear the Cache: Sometimes you may need to consult your IT team to clear hidden app data folders that standard uninstallers leave behind.
- Restart: Always restart your PC after a fresh installation to ensure the new registry entries are correctly mapped.
Ensuring your core business applications are running correctly is essential for maintaining productivity and preventing data loss. Once your software is stable, you can turn your attention to optimizing the overall speed and responsiveness of your workstation.
Improving Performance if You Experience Slow Windows 11 After Update
Waiting for your cursor to stop spinning while you’re in the middle of a client call is a frustration no business owner needs. While clearing those persistent Windows 11 error messages is the first step toward a healthy PC, you might notice your machine feels sluggish or "heavy" immediately after the installation finishes. This lag is often caused by temporary files and background processes that Windows hasn't quite finished tidying up following the update process.
Streamline Your Startup with Task Manager
One of the most common reasons for a slow Windows 11 after update experience is a cluttered startup list. New updates can sometimes reset app permissions or introduce background processes that launch every time you turn on your computer, hogging valuable RAM and CPU power. By trimming these down, you allow your PC to focus its resources on the business applications you actually use.
- Press
Ctrl + Shift + Escon your keyboard to open the Task Manager. - Click on the Startup apps tab (the icon looks like a small tachometer or speed gauge).
- Look for apps with a "High" startup impact that you don't need immediately upon login.
- Right-click the application and select Disable.
- Restart your computer to see if the responsiveness improves.
Clear Old Files to Resolve a Slow Windows 11 After Update
When Windows updates, it often keeps a copy of your old system files just in case you need to go back. While this is a great safety net, these files can take up gigabytes of space, leading to disk congestion. If you have already used the Windows Update troubleshooter and your system is still lagging, running a deep clean of your drive can provide the breathing room your operating system needs to function at peak speed.
- Search for "Disk Cleanup" in your taskbar and select Run as administrator.
- Select your main drive (usually C:) and click OK.
- Check the boxes for Temporary files and Previous Windows installations.
- Click OK and then Delete Files to reclaim your storage space.
The Double Restart Rule and Background Configurations
It sounds simple, but the "Double Restart" rule is a staple in professional managed IT support. Many system changes, such as those made when you reset Windows Update components, require a full power cycle to finalize. The first restart often finishes the file installation, while a second restart allows Windows to complete background indexing and registry cleanup that doesn't trigger until the OS is fully "settled."
If your business operations are still significantly impacted after these steps, you may need to check if specific software requires compatibility mode Windows 11 settings to run efficiently. In rare cases where an update is fundamentally incompatible with your hardware, you can navigate to Settings > System > Recovery and select Go Back. This should only be a temporary measure while you wait for a more stable patch or consult with an IT professional to diagnose the root cause of the performance dip.
Staying on top of these maintenance tasks ensures your workstation remains a tool for productivity rather than a source of daily technical headaches.
Best Practices for Australian Businesses Managing Windows 11
Staying ahead of cyber threats in Australia requires more than just reactive fixes; it requires a strategic approach to software maintenance that aligns with national security standards. For many local small-to-medium businesses, resolving Windows 11 error messages is not just a matter of convenience—it is a core component of the Australian Cyber Security Centre (ACSC) Essential Eight framework. This framework prioritises "patch operating systems" as a top-tier mitigation strategy, meaning that when an update fails on an employee's laptop, your business's overall security posture is immediately weakened.
Automating Updates with Managed IT Support
Managing a fleet of devices individually is time-consuming and prone to human error. This is why many Australian businesses partner with a managed IT service provider to automate their patch management. An MSP uses centralised monitoring tools to detect a slow Windows 11 after update or a recurring installation failure across your entire network. Instead of a staff member spending their afternoon trying to manually reset Windows Update components, an expert can deploy a script to fix the issue silently in the background, ensuring zero downtime for your staff.
Building a Culture of Technical Reporting
One of the most effective ways to prevent major IT outages is to encourage a "report, don't ignore" culture within your office. When an employee encounters Windows 11 error messages, their instinct might be to click "Close" and continue working. However, recurring errors are often the first sign of a failing hard drive or a deep-seated registry conflict. Educating your team to take a quick screenshot and send it to your support desk allows technicians to use the Windows Update troubleshooter or check for driver updates before the problem escalates into a blue-screen event.
Proactive Maintenance and Compatibility Checks
Proactive maintenance is significantly more cost-effective than emergency repairs. We recommend establishing a monthly "IT Health Check" routine to ensure your business-critical software remains functional. This is particularly important for older legacy applications that may require compatibility mode Windows 11 settings to run correctly after a major OS feature update. By auditing your software environment regularly, you can identify which tools are reaching "end of life" and plan for upgrades before they cause system-wide instability.
- Check update logs: Review your systems weekly to ensure all patches were successfully applied.
- Inventory your software: Identify any apps still running in compatibility mode Windows 11 and check for modern, native updates.
- Monitor disk health: Use built-in Windows diagnostics to ensure SSDs have enough space to process updates without causing system lag.
- Review ACSC guidelines: Stay informed on the latest cybersecurity recommendations tailored for Australian business owners.
Taking these organisational steps ensures that your technology remains an asset rather than a source of frustration, keeping your team focused on growth rather than troubleshooting.
Frequently Asked Questions
What is the fastest way to fix a Windows 11 update error?
The most effective first step is running the built-in Windows Update troubleshooter located in Settings > System > Troubleshoot. This tool automatically scans for common corruption issues and restarts necessary services without requiring technical knowledge.
Why is my computer so slow after installing Windows 11 updates?
Sluggishness post-update is often caused by background indexing or leftover temporary installation files. You can resolve this by running Disk Cleanup to free up space and disabling non-essential startup apps through the Task Manager.
How much disk space do I need for Windows 11 to run correctly?
You should maintain at least 20GB of free disk space to ensure Windows 11 can process updates and manage temporary system files. If your drive is nearly full, consider moving large files to external storage or the cloud.
Can I run old Windows 7 or 10 apps on Windows 11?
Yes, many older apps can be fixed by right-clicking the application shortcut, selecting 'Properties', and checking 'Run this program in compatibility mode' under the Compatibility tab. Selecting a previous version of Windows often bypasses startup errors.
Sources
- https://www.telcoict.com.au/common-windows-11-problems-and-fixes
- https://itsupportguy.au/11-most-common-windows-errors-how-to-fix-them
- https://learn.microsoft.com/en-us/answers/questions/2337354/troubleshoot-windows-11-upgrade-and-installation-e
- https://www.ituonline.com/blogs/windows-11-troubleshooting-techniques-for-entry-level-support
- https://support.microsoft.com/en-us/windows/get-help-with-windows-upgrade-and-installation-errors-ea144c24-513d-a60e-40df-31ff78b3158a
- https://www.youtube.com/watch?v=9dWI5yaJKaw
Need Expert IT Help?
Still stuck, or want this handled professionally? Our technicians provide fast remote and on-site IT support across Australia. Whether it's a one-off issue or ongoing support for your whole team, we've got you covered. Get in touch with OnIT Solutions today.